
Have you ever tried taking a picture of your eyes or someone else’s but were not at all satisfied with the results? Well, you are not the only one. Photographing the human eye can be a tricky thing to do.
As a photographer, eyes have always been a very interesting subject for me. Being able to capture flawless pictures of an eye was something that I always wanted to learn. Over the years, I have spent a lot of time trying to perfect the art of capturing the perfect eyes.
Today I’ll be imparting this knowledge to you people. So stay with me till the end of the blog to learn how to take aesthetic pictures of your own or someone else’s eyes.
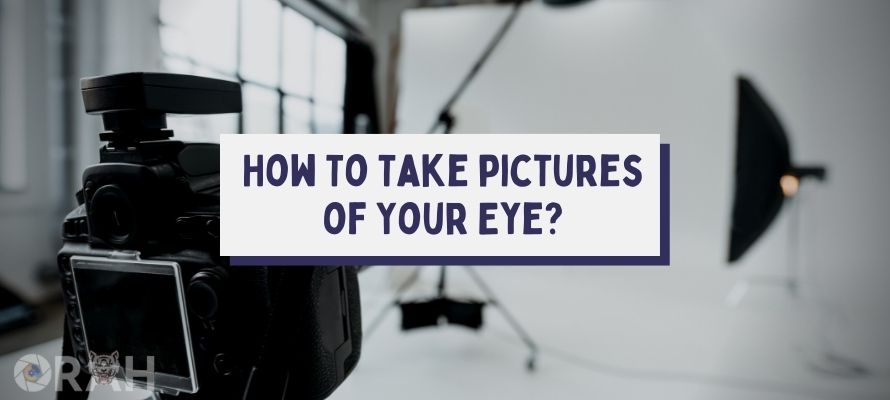
How To Photograph The Human Eye
Photographing the human eye is a complex task and requires a certain level of expertise. First, I will let you know how to set up your camera, what lens to use, and how to light up your subject.
Related guides:
- How to photograph the moon like a professional?
- How to photograph the lightning with the best camera settings?
To Retain Sharpness, Use A Macro Lens.
Regular lenses are of no use for capturing images of micro-objects. They can only zoom in on an object up to a certain point, after which they start to lose sharpness. To maintain sharpness, use microlens.
For Macro Eye Photography, You Will Need To Adjust Your Camera Settings.
There are certain tweaks that need to be made to the camera settings as well when capturing micro-objects. These can be changes in ISO, shutter speed, aperture, and a few more settings.
Shutter Speed
Shutter speed isn’t as important as aperture size in micro photography. Prioritize your aperture settings and let the camera choose your shutter speed. Make sure the shutter speed does not go below 1/60th of a second. Doing so will cause motion blur in the photo.
Aperture
When shooting micro-objects, your depth of field is reduced. Using a larger aperture with a microlens causes a loss of focus. To overcome this problem, always use smaller apertures. This will help with focusing on your object and increase your depth of field.
ISO
ISO settings are very important to reduce image noise. To capture crisp images, make sure that your ISO is set between 100 and 800. When shooting in good light, 100 would be sufficient, but if the lighting isn’t good, try taking it up to 800.
How To Light Macro Photos of Eyes
Lighting is a very important part of photography. While photographing eyes, it is important to use a good catchlight. These can be either natural sunlight or artificial light, such as flashes, bulbs, or ring lights.
Natural Light
Taking pictures of an eye in direct sunlight may cause damage to the subject’s eye. When using natural light, try shooting in places that have large windows. Shades will protect eyes from direct light, and large windows will help properly light up the place.
Flash/Strobe
I am not a huge fan of using flashes. It usually causes the subjects to blink, causing motion blur. But, when I have to use these, I try using them on the lowest power settings so that they do not startle the subject.
Transform your space with stunning Glass Canvas Photos Prints for Wall Art. These high-quality, vibrant prints add a modern touch to any room, enhancing your decor with sharp details and vivid colors. Perfect for homes or offices, they bring your favorite memories and images to life in a sleek, contemporary style.
Artificial Lights
I prefer using artificial light when doing micro photography because it gives me all the control. I can adjust the lighting according to my requirements. Unlike flashes and strobes, it does not startle the subject, and the chances of motion blur are also reduced.
How To Photograph Your Eye With An iPhone
Taking macro photos with an iPhone camera is trickier than with a professional camera. This is due to the lack of manual control over the camera and because the iPhone does not have a microlens built into its hardware.
#1- Use A Macro Lens To Take Better Pictures.
The first thing that you need to do is to get an external micro-lens attachment for your iPhone camera. This will help you with getting the proper zoom on your eye and getting good pictures.
#2- Create A Catch Light For Your Eyes.
The next step is to get the proper lighting for your subject. The best way of doing this is to create a catch light by using artificial light. You can also use a softbox to diffuse the light.
#3- Set Your iPhone Camera To Its Focus And Exposure Settings.
Exposure settings will help with the illumination of the photo, and focus will help with getting sharp and crisp photos. Adjust and tweak these settings accordingly until you get the desired results.
#4- Use Gridlines To Keep Your Shots Balanced.
Using the gridlines can help with centering the eye. This will make the pictures look better as the iris and retina will be centered. This will reduce the shadows and help with capturing well-lit subjects.
#5- Rest Your Eyes First To Lessen The Redness.
To get the best results, make sure your eyes are well rested. This will avoid any redness in the eyes. Redness in the eyes makes the pictures less aesthetic and decreases the picture quality.
#6- Reduce Camera Shake.
The camera shakes reduce the focus of the image and cause motion blur. The best way of avoiding camera shakes is to use a tripod or any type of stand to keep your phone stable. This way, there is less motion blur.
#7- You Can Use The Burst Mode To Get More Shots.
Keeping your eyes still for a long time is something very difficult. Using the burst mode, you can get multiple shots in a few seconds. And then select the one you like the most.
#8- Edit Your Images.
The last and most important part of the shoot is to properly edit your images. It is important to use the right color grades to make the details pop and to make the picture more sharp, crisp, and beautiful.
Wrap-Up:
Now to conclude everything that I taught you during this blog, all I would say is to make sure you are using the right lens for the job. Using a regular lens may not get you the desired result.
Ensure your camera’s settings are correct. Always ensure using sufficient lighting and avoid any kind of distortion due to harsh lighting. Properly edit your pictures to get the best results.
Use these tips and tricks to capture the best eye pictures and enjoy the beauty that the human eye holds. (also, appreciate the photographer’s skill)
Frequently Asked Questions (FAQs)
#Q1- How do you take a picture of your eyes without reflection?
Answer: The best way to avoid reflections in your photos is to make sure that your light source is not directly in front of your eyes. Keep it at an angle, or you can also use a softbox to diffuse light.
#Q2- Why do my eyes look so weird in pictures?
Answer: The focal length of the lens and the distance from the camera can cause some unflattering geometric distortions. The camera also flattens the image, unlike your mirror. This causes the eyes to look weird in pictures.
#Q3- How do you pose with your eyes?
Answer: The best way to pose with your eyes is to have the subject well lit. This helps get a clear picture. Look directly into the camera so that you can connect with the audience. Or you can look sideways as well to pose.
#Q4- Where should your eyes look when taking a selfie?
Answer: When taking a selfie, it is best to look directly into the camera lens. This may be a little over your screen. If you look at the screen, you will not be able to make that important eye contact with the audience.