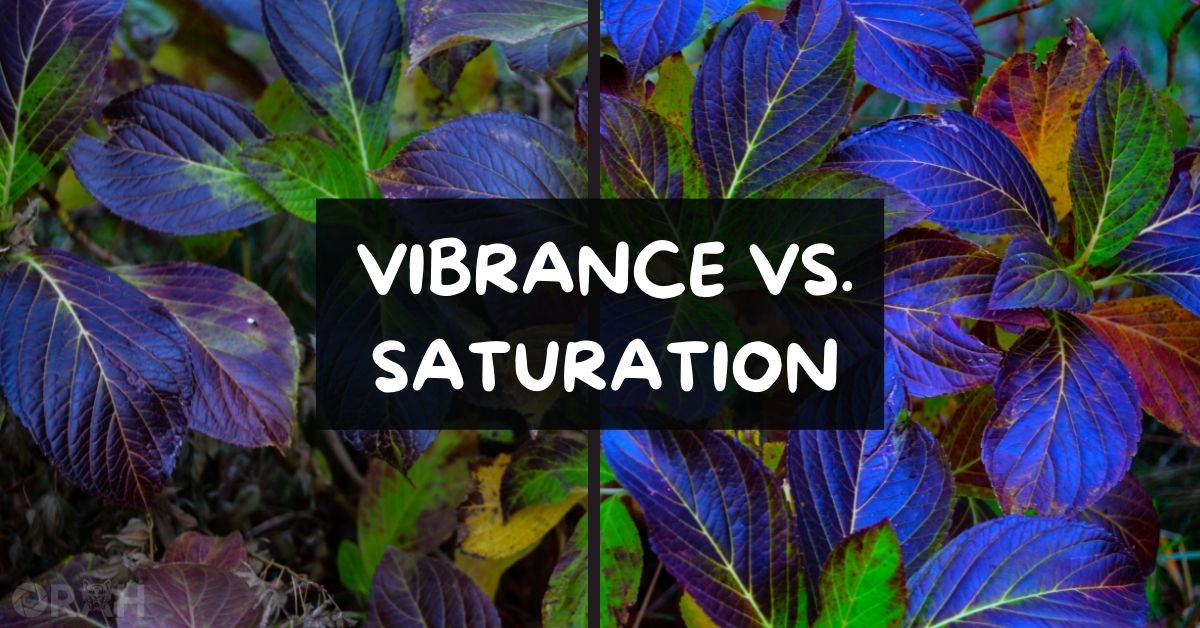
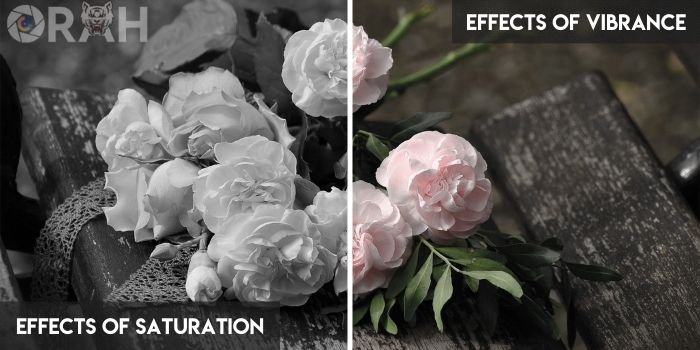
When you are taking photos or editing them, the two things that you are going to see side by side are going to be vibrance and saturation, and the funnier thing is that most of the time, people get confused over these terms and think that they are the same.
However, that is not the same. The topic of vibrance and saturation is something that has come up a lot of the time, and people think about how to use them, and the funnier bit is that not being able to use these both tools properly can affect your photography a lot.
Now, the purpose of this article is to be sure that all the readers finally get used to the idea of both of these aspects of photography and photo or video editing.
I have comprehensively gone over everything to ensure that no one has an issue dealing with these things because we understand how overwhelming they can be.
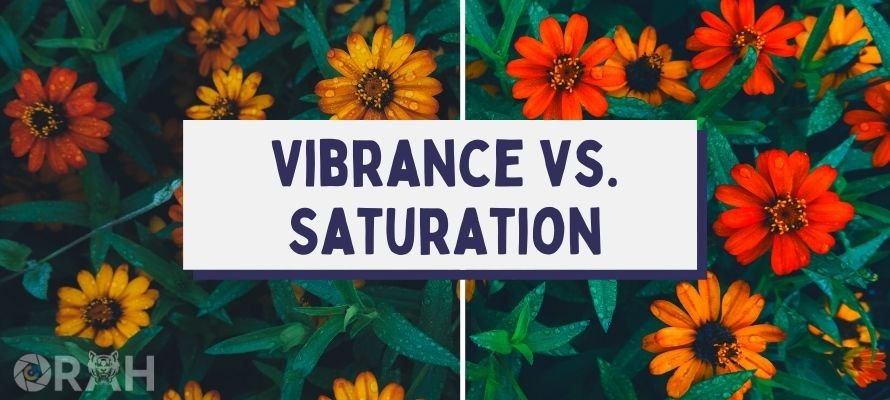
Vibrance Vs. Saturation? The Real Difference
On paper, there are a lot of differences between the vibrance and saturation sliders, but the biggest difference here is that vibrance sliders are not going to treat all the pixels equally. This means that it will only adjust the least saturated colours in the image.
Colours and pixels that are already saturated are adjusted less, which means that the chances of blowing out any colours are very less.
1- Vibrance
Now that I have described the difference between these two, it is time to start dissecting each of these aspects separately, so there is a proper idea as to what you are looking at.
Starting with vibrance. In simpler terms, you are looking at one of the smartest tools in editing that is used to very carefully increase the intensity of colors that are more muted.
In the process, the vibrance slider also leaves the colours that are already well-saturated, so they do not end up looking more out of place.
This slider acts as a fill light, but just for colors. In addition to that, this slider also works in preventing the skin tones from becoming overly saturated and helps them preserve the natural color.
In most cases, you are to use vibrance and saturation slider in tandem, so you can get the perfect results. Mastering both sliders can be a difficult thing to start with, but don’t worry, as it will not be something that you cannot learn once you have understood the difference.
Recommended reading: What is Dynamic Range? Everything you need to know!
When Should You Use Vibrance?
The difference is obvious, and I have already explained to you how you can differentiate between both.
However, the more important thing here is just when are you going to use the said sliders?
Honestly, it is not that difficult to conclude, but I am still going to mention everything there is that you must know.

Vibrance serves as the most convenient tool when the photograph has the right balance of colour intensity in all areas except one.
Technically, by using the vibrance slider, you can elevate or bring down the colour intensity of that one or two areas, and this is all done without overdoing the areas of the picture that are already looking perfect in terms of colours.
You have to have a proper understanding of colours to be able to do this properly. Not just that, you will also need a display that can display all the colours that are present in the picture because, without that, it becomes really difficult to get started with how you are going to take the picture and adjust these aspects of it.
Most of the modern editing displays already have proper displays, so adjust these sliders is going to be an easy thing for you.
2- Saturation
Next up, we have saturation, and during my years in photography and photo editing, I can tell you that using this slider has been a lot easier than using vibrance.
Now, I am not saying that you cannot master both sliders as that is an important thing that you have to do, and without that, you will not be able to take the photos the way you want to take them.
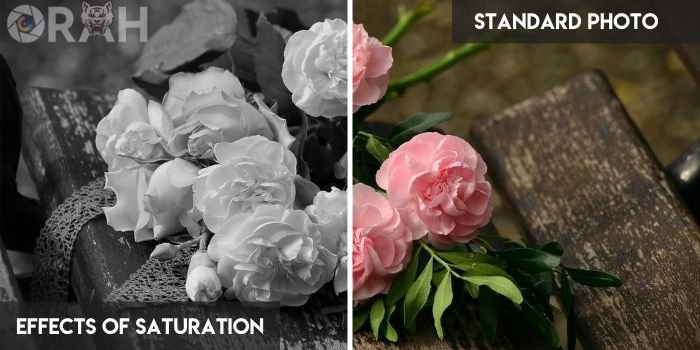
With the saturation slider, the difference is noticeable almost immediately, and this is not like that with the vibrance slider. Saturation refers to the intensity of the color; the higher the saturation of a color, the more vivid it is going to be.
Similarly, the lower the saturation of the colour, the closer it will become grey. There are some photos in which the colour intensity is a lot higher, and you have to bring down the saturation to give it a muting or a calming effect to make it look more natural.
However, at the end of the day, it is a mix of both saturation and vibrance sliders that will give you the picture you want.
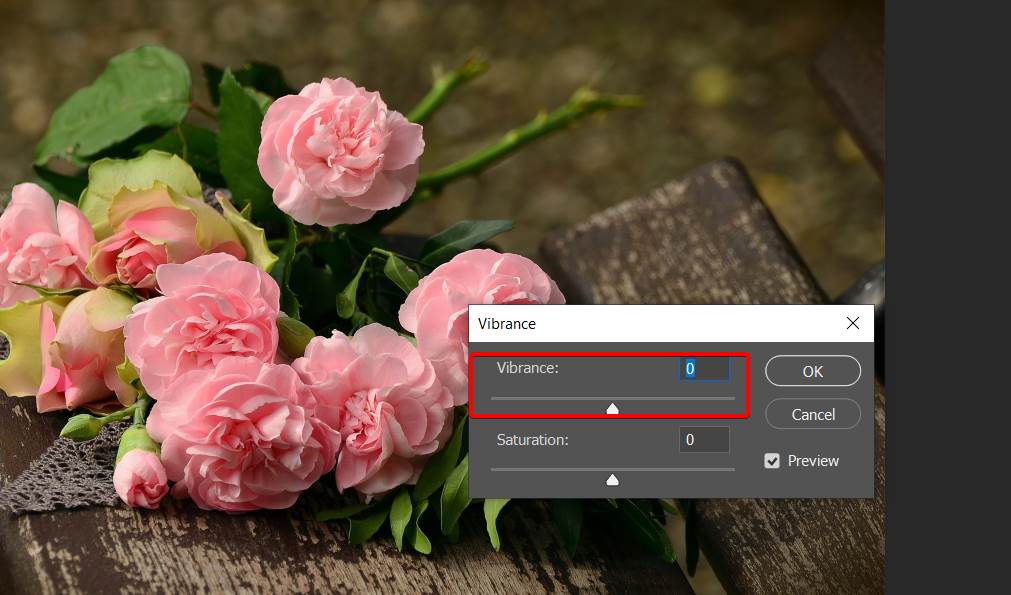
Vibrance And Saturation In Photoshop
Now that we are done talking about these sliders separately, we have to start focusing on how they are integral to work together in almost every single case.
It does not matter which photo editing software solution you are using; you cannot just get away with using one slider over the other one.
Adobe Photoshop is perhaps one of the most common applications that are used when it comes to photo editing.
We also have Adobe Lightroom, which is even more granular towards photography. In addition to that, the same sliders can also be found in an abundance of photo editing tools that you might use.
So, what seems to be the issue? Well, the thing is that people get overwhelmed wondering if the use of these sliders is going to be different across different applications.
That is not the case; the use of all these sliders is going to be the same regardless of the photo editing application that you are using.
If you feel like your photo is very intense in areas and some colours are not as vibrant, you can use the sliders accordingly and make adjustments. There is no shortcut to perfecting this.
This means that you are going to take your time to master it, and only then you will get the perfect results.
Tips For Using Vibrance And Saturation In Photo Editing
We are far into this guide that is made to supposedly help you with understanding both of these sliders in photo editing. I say this because editing photos without using these sliders might not be able to give you the results that you are looking for in the first place.

Thankfully, the use of these sliders is easy, and I am going to give you some tips in these bullets that can help you understand how to use them better. Take these tips seriously whenever you are editing photos, and you will do just fine.
- Regardless of the software, you are editing in, you have to understand that when you are using either of the sliders, it is always better to toggle between the before and after versions of your photo.
Our eyes are wired to adjust to the colors that we see, and when we look at an unedited image, we can see how far the difference is that we have created by using the slider and then make the proper adjustments by increasing or decreasing the slider.
- The natural world that we see through our own eyes is not saturated to the max, and saturation is a variable that is going to vary throughout the scene depending on the light. For better photos, make sure that your camera profile is set to neutral or natural so you do not overpower the image with more colours.
- When you are working with contrast/exposure sliders, you will need to have an eye out for the colors as both of these sliders directly impact the saturation and vibrance, and you will need to work on these sliders again if you also want to adjust the exposure and contrast.
How To Adjust Vibrance & Saturation For Better Photos
I have said it before, and I will say it again that when you are taking photos and editing them, these sliders are going to matter a lot. A raw, unedited photo straight from your camera is not going to be saturated to the max, and the same goes for the vibrance.
This means that to get the desired results, you will need to get started with adjusting the sliders. This is where things get a little tricky. You see, these sliders do rely on each other, but at the same time, these sliders also rely directly on the exposure and contrast.
So, the best way to deal with this situation is to start by adjusting the exposure and contrast of your photo, and once you have dealt with those sliders. You can move down to vibrance and saturation sliders.
This way, you will easily be able to control the vibrance and saturation of your photos without having to go back to the other sliders.
Once you master this technique, you will have zero issues in the process of photo editing, and you will not feel the need to do it in specific apps as the same method works in every photo editing app.
Frequently Asked Questions (FAQs)
Q1- What is the difference between saturation and vibrance?
Answer: When talking about the main difference between saturation and vibrance, you have to know that saturation looks towards all the colours in a photo, muted or not. However, vibrance always focuses on colours that are not as saturated and works towards adjusting them. You can increase or decrease it based on your preference
Q2- What is vibrance in Lightroom?
Answer: The vibrance slider in Adobe Lightroom does exactly what the slider’s description reads. It is used to adjust the vibrance of a photo. You can either increase or decrease it based on your need, and you will do just fine once you have adjusted it according to your needs.
Q3- What does Digital Vibrance do?
Answer: Digital Vibrance is a feature in most Nvidia GPUs, and as the name suggests, it adds a layer of digital vibrance in games and displays, in general. This makes certain colours pop up more than others and can make up for a pleasant viewing experience but is it not always needed.
Q4- When would you use low saturation in a photo?
Answer: If you are looking to understand just when you should use low saturation in a photo, then the answer to that is simple and depends on you. For instance, if you are looking to create a photo that looks more washed out and calming, then lowering the saturation can help to achieve that effect with ease. You can even play around with colours to make it look according to how you would view it.
Q5- What is good saturation?
Answer: Most of the times, when people are talking about “good saturation,” it is a very difficult term to look at, to be honest. The reason is simple, every single shot is different, and even within a single photograph, you end up seeing various levels of saturation. Therefore, determining the perfect saturation, all boils down to a point where all colours are vibrant enough and perfectly saturated.
Wrap-Up:
It is safe to say that for a lot of people, understanding the vibrance and saturation when it comes to photography is not an easy thing. To be honest, I have found myself in the same situation when I started taking photos, but after spending hours into it, I have finally managed to master the technique, and at the end of the day, it is one of the easiest things to master.
You will need to know that when you are talking about these sliders, is that they are going to be used in tandem. Granted, you can use one slider over the other, but you are not going to get the results that you might want to have.
In addition to that, another tip that we are going to leave you with is that when you are working with the saturation and vibrance sliders, you must not forget about the exposure and contrast sliders because adjusting those can change the entire edit that you have just made.
In addition to that, any slider that affects colour in any way is going to ultimately go to affect these sliders, and that is why these sliders are often used at the end of a photo editing workflow, so you do not have to retrace your steps and make more adjustments.
References:
- Adobe.com
https://helpx.adobe.com/photoshop/how-to/adjust-vibrance.html - Nigelwaters.photography
https://nigelwaters.photography/blog/vibrance-vs-saturation/ - Youtube
https://www.youtube.com/watch?v=oNOWNqKuskg - Digital Photography School
https://digital-photography-school.com/vibrance-vs-saturation-in-plain-english/