
Videography is something that has been around for a long, long time, and the same cannot be said about photography. So, if you have been looking forward to taking pictures or videos, for that matter, you might want to start shooting in manual mode.
Why?
Well, shooting in manual mode helps you a lot, so you can easily go ahead and get the results that you are looking forward to achieving.
So, if you have been wondering how to shoot in manual mode, this article is for you as we are going to explore all the aspects of it, so let’s not waste more time and have a look, shall we?
What Does Manual Mode Mean In Photography?
Even though it is something that does not need any explanation, it is safe to say that a lot of people have little to no idea about what manual mode means to begin with. Well, let’s look into it so you can go ahead and have a proper understanding of this mode.
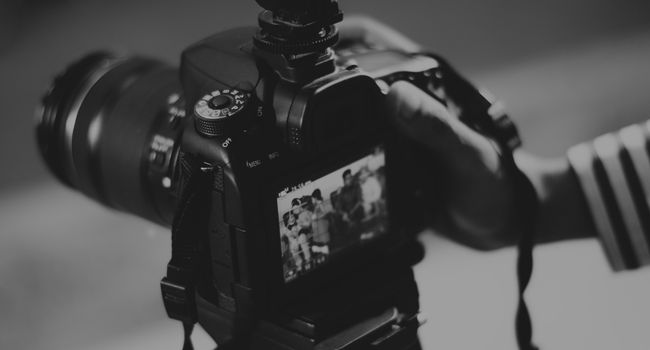
For starters, manual mode simply means a mode that lets you control all the aspects of the camera before you start shooting the pictures. This means that the ISO, shutter speed, exposure, aperture, bracketing, and everything else is something that you can manually change.
It surely is overwhelming, but once you do master it, you would be able to take pictures that would be infinitely better.
What Are The Benefits Of Shooting In Manual Mode?
Now, when you are talking about shooting in manual mode, there are countless benefits to that, and to be honest, you can get some stunning shots by just doing it in the manual mode.
I know it might be something that is overwhelming at the start, but the more you look into it, the better it is going to become for you as a photographer.
The Problem With Automatic Mode
Every camera has an automatic mode, and the best part is that it is there to help everyone have a better understanding of how to use a camera.
However, for me, it is just a way of getting better. The issue with the automatic mode is that it limits you as to how you are able to master photography.
The purpose here is that you should not use it as a crutch because it can literally hinder your photography experience, and we do not want to go through that to begin with.
How To Shoot In Manual Mode
Now that we have gotten the basics out of the way, the next step is to learn how to shoot in manual mode. It is not at all difficult, so you will have a much easier time once you have paid attention to all that we have to share with you.
Just remember that you should not let things overwhelm you because we really do not want to face that.
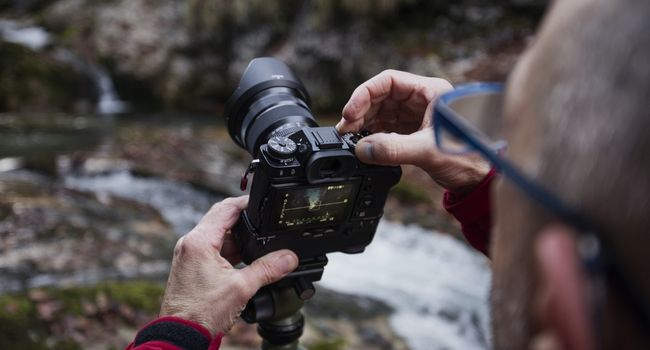
#1: To Start, Select Manual Mode.
You can start by going ahead and making sure that the camera is set to manual mode. I know it might sound difficult, but in almost all cases, you just have to go ahead and turn the mode dial to manual mode, and you will be good to go.
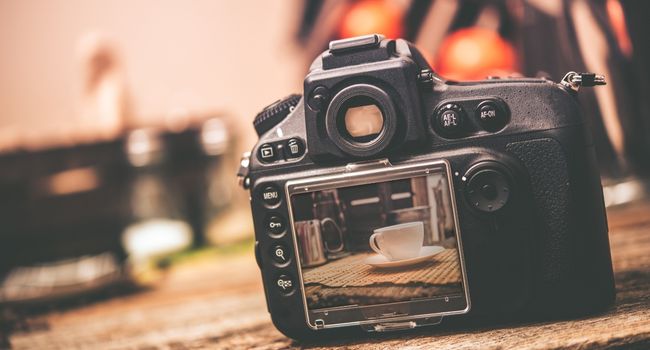
Once you have set the camera to manual mode, you would be given a lot more details on the camera screen, and each of the detail that you would have access to is ready to be changed, so you can go ahead and make your own changes and adjust things to your requirements.
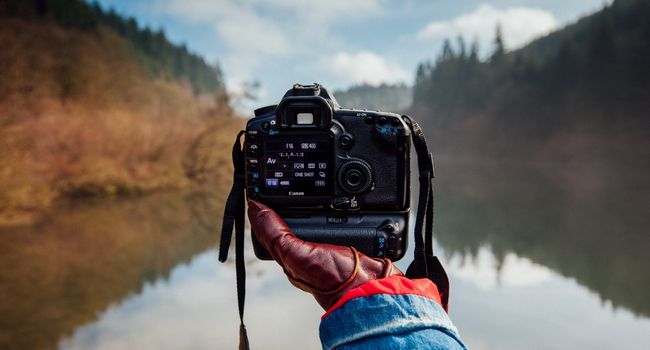
#2: Set Your Aperture Priority Mode (A or Av)
Now, this is something that is completely optional, but if you want, you can go ahead and set your camera to aperture priority mode.
This is normally denoted by A or Av on your camera, and if you are not someone who is fully experienced with the manual mode and how aperture works, then aperture priority mode is good to go.
Aperture priority mode lets you select the aperture you want to go ahead with, and the camera system will go ahead and determine the shutter speed that would be right.
#3: Adjust Your Camera’s ISO Setting
Next up, we have to pay attention to the camera’s ISO settings, and it is important to know that the ISO should always be lower because the lower the ISO, the better.
However, a lower ISO would mean that you would not be getting enough artificial light, so be sure that your aperture is wide enough.
#4: Camera Exposure
Camera exposure is something that is linked to aperture, ISO, and shutter speed. All three combine to make the exposure triangle.
In order to be sure that you have the right exposure, all the aforementioned aspects have to be a lineup, and that way, you will get a picture that is perfectly exposed without any issues coming in the way.
#5: Set Your Metering Mode
Metering mode is another thing that you will have to look into but to be honest, if you are new to this, I would highly suggest that you let the metering mode be on default. For the sake of reference, the best metering mode is matrix or multi-metering, so you can go ahead with that.
#6: Set Your White Balance (or WB)
Setting the white balance can be done in two ways; you can either set it before taking pictures, or you can do it in the post-processing.
Normally, people prefer doing it in the post-process because that lets you use a single white balance setting for every shot and later adjust it in the post-processing, which is a lot easier and simpler.
#7: Set Your Shutter Speed
I am also going to suggest that you are setting your shutter speed, and the best one is going to be a faster shutter speed as that is going to help you capture the motion without any issues, and even if you do end up shaking the camera, it will not ruin anything.
#8: Practice And Get Better
The last thing that I can tell you is that you should practice and get better at photography. Rest assured, photography is wonderful, and it should never be difficult.
When To Switch Back To Full Automatic Mode (A Or Auto Or A Green Box)
Honestly, I would not ask anyone to switch back to manual mode because, in most of the cases, manual mode is the one that works the best.
If you are experienced with the manual mode, I can already tell you that you would not want to go ahead and use the automatic mode to begin with. So, it is always better that you are focusing on it in the first place.
How Do I Know What Shutter Speeds To Use?
Knowing which shutter speed to use is not at all difficult or complicated, to be honest. You just have to look at your requirements from a photo.
If you are looking to take pictures that have a lot of movement and you want to be able to pause the movement, make sure that you are using faster shutter speeds. For long exposure shots, I would suggest that you are using a lower shutter speed.
Wrap-Up:
If you have been trying to learn photography and manual mode, this article is here to help you get the job done. The purpose here was to tell you all about manual mode to begin with, and if you want the ease of access, this is the way to go as we talk about everything there is that you need to know.