
Ever wondered how a sun might look during a solar eclipse? Or how can you get a perfect view of planets in our solar system during the daytime?
Of course, it is possible but doesn’t even think of trying to attempt viewing the sun during a solar eclipse with your camera, without any solar filter.
Solar filters protect your camera lenses from extremely harsh rays of sunlight and not just your camera lenses but your precious eyesight too.
A solar eclipse can be viewed with any decent camera. You don’t need expensive telescopes or other equipment, this could be done by just using stuff lying around your house. It is not that difficult to capture the sun in its full glaring strength, and solar eclipses are beautiful.
I give you that; I would want to see it myself, but if you proceed with caution, you can finish your homemade solar filter that is safe to use. Although keep in mind these filters are very fragile.
So in this article, you will see a detailed guide on how to make your DIY solar filter so you can have a staring contest with the sun (through your camera lens, of course)
Things You Need In A Nutshell
Now before we jump on the tutorial, there are a few things you need to cover and gather to create a solar filter for your camera. It’s not a huge list, and all of these items can be found at your home or a local store.
First of all, you need a lens hood that will act as the casing for your solar filter. Then some cardboard, scissors of course for cutting, a solar film, double side tape and a pair of compasses. This is an odd list, but you will see in the end that this is exactly what you need to create a good solar filter.
How To Make A Solar Filter For A Camera
Now on to the actual tutorial and crafting of solar filters. There are a few steps that should be carefully executed if you want to achieve a decent working solar filter for your camera.
These steps are not very complicated or hard if you follow them thoroughly. Gather the stuff you need to make a solar filter for a camera. And place it on a clean wide surface.
Here you are going to craft your DIY solar filter.
Step 1-
Pick your lens hood and carefully measure the bottom diameter. This should be accurate because otherwise, your solar filter will not fit inside this lens hood.
Use a ruler to get accurate measurements, and then, on cardboard, draw two circles with a compass. These should be the same size as the bottom of your lens hood. Use a ruler to get an accurate size, and then use a compass to make pair of circles on your cardboard.
Step 2-
Draw two more circles inside those circles but keep a gap of at least 2.5 cm between them. The reason is that that gap will be the thickness of those rings when you will cut them out of cardboard.
Inside those circles, you will use your compass to get an accurate measurement, and you will draw circles with a 2.5 cm gap. Make sure you don’t overcut those outlines, or else you will have to do it again.
Step 3-
Now before we proceed and pull out the solar film packet, you have to make sure that you are using double-sided tape. That tape will go on those cardboard rings you cut out earlier.
Wrap the tape around those cardboard rings and do it a few times. Wrap it firmly, so those cardboard cutouts become stiff.
This is important because of how fragile cardboard is, you have to make it stiff, and the best way to do it is to wrap it around with double-sided tape. This will help us later when we attach these rings to the solar film wrap.
Step 4-
It’s time to bring up the solar film wrap. The cutouts of circles will go directly on the solar film wrap. And since they are wrapped with double-sided tape, it will be easier to attach them to a piece of solar film.
Place both cardboard circles on each side of the solar film. Make sure to carefully align them on each side. This should be done once and carefully. Firmly press them, so they are firmly attached
Step 5-
One of the other optional things you could do if you have time on your hands is to create a cellophane-colored filter. This filter will look great, especially if the sunlight goes through the color paper.
It will make for a nice distinguished look, but as I said, this is entirely optional, and do it if you want to get a little fancy with it.
Step 6-
Once you are finished with your solar filter and, I assume, your cellophane color filter, it’s time to install them in the lens hood. Insert the cellophane filter first inside the wide hole of the lens, the one you took for measurements before.
Then goes the solar filter right after. Carefully press them inside, so they are perfectly fit. And if you are good with your measurements, they will go right in easily.
Step 7-
If you ever feel like replacing the entire filter, you can pop off the lid of the lens hood. Push it down slightly, and both filters will come off like smooth butter.
Once again, measurements are very important. If you are precise with them, you will have no major issues. Crafting a DIY solar filter is as simple as it gets
How To Test Your Solar Camera Filter?
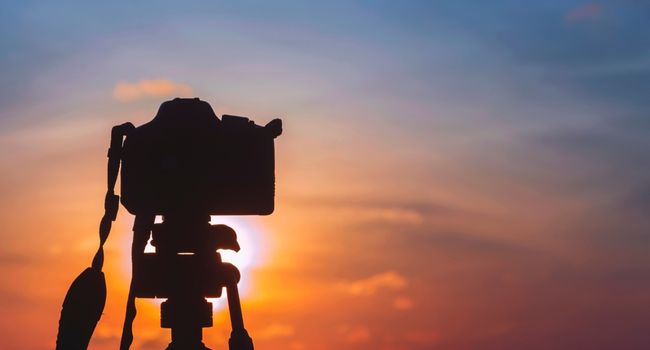
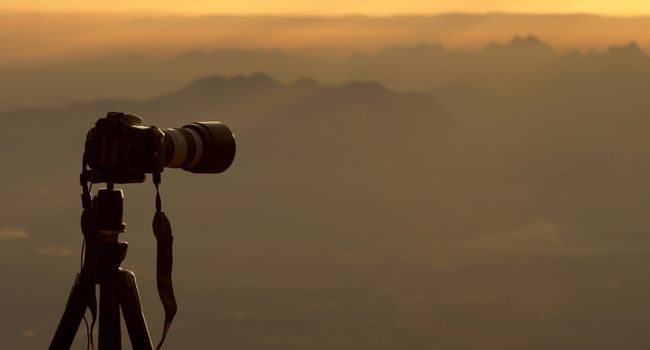
The best way to test your camera filter is on the sun itself. Of course, you don’t get solar eclipses often, so hot sunlight is the best source. You can try to aim at the sun directly and try to capture some footage.
Just exercise some safety because an improper solar filter could damage your eyes. But since it’s sunlight, it’s not going to be lethal, whereas a solar eclipse is highly dangerous. You can test on a sunny day before actually going to attempt viewing a solar eclipse.
Related guides:
- How to make your camera quality better easily?
- How to make a video a live photo easily?
- How to make a timelapse video? (with every device)
- How to make a silhouette? (simple tips & tricks)
Final Verdict:
Now our guide has concluded, and I hope you learned something from this sweet and brief guide. A solar filter is not a complicated piece of equipment, and likewise, it’s not hard to craft. But since it’s easy to craft, you have to focus on exercising safety.
It’s obvious that a DIY solar filter will never be on par with quality-tested solar filters that you can buy online or from the market. So proceed with caution when attending a solar eclipse event.
Use it with care, and you will be fine, go take it out in the sun. View it from every angle.
Get some sweet shots but keep in mind that these things are fragile and could be easily damaged without your knowledge. So avoid using a damaged filter at any cost.
And test your equipment thoroughly before any solar eclipse event. It’s very rare but imagine if your solar filter falls out of your lens when you are viewing a solar eclipse. It’s a cheap solution to create a solar filter at home, but it comes at the cost of zero quality tests.
Scary thought, you can make another solar filter at home, but you can never replace your precious eyes. Be careful and responsible when testing the might of forces of nature.
FAQs (Frequently Asked Questions)
Can you make your own solar filter?
The short answer is yes. Making your own solar filter is very easy, and you can finish it at your home by using common things that are usually laying around in your house. Common stationery that is easily available in the local market
What can be used as a solar filter?
You can use welding glass as a solar filter as an optional replacement for solar film. You can also opt for natural density filters for your camera
What filter do I need to photograph the Sun?
A simple solar filer is enough to get the job done, but you still need to make sure you have all the aspects of safety covered.
How does a solar filter work?
Solar filters are the perfect equipment to view the sun in its mighty blaring form as solar filters can filter most of the heat and harmful rays of the sunlight before they reaches your camera lens