
Glare spots can be very annoying for photographers. You set up the perfect shot, press the shutter, and then notice a bright reflection in the photo.
Glare happens when strong light reflects into the camera. This can come from shiny surfaces like glasses, water, metal, or windows. The bright light creates unwanted spots in your picture.
Glare can make a photo look messy or distract from the main subject. That is why many photographers try to avoid it.
In this guide, you will learn simple tips to fix glare. We will talk about quick solutions you can use while taking photos, as well as easy editing tricks to remove glare later using photo editing software.
By following these tips, you can improve your photos and keep them looking clean and professional.
How To Avoid and Reduce Light Glare
The first strategy of a Photographer’s Guide to Fixing Glare Spots is skipping the frustration of glare spots before they even happen! Before you take that shot, keep these glare-prevention tips in mind.
Find the Right Lighting
The first step is all about finding the proper lighting. You’ll want to avoid direct sunlight or bright lights that directly shine onto your subject – they’re the common culprits of glare.
Instead, opt for shooting in areas with soft, diffused lighting. This could be a room with gentle light, near a window with indirect sunlight, or in the natural lighting of the afternoon sun. This approach will help minimise glare right from the start.
Bounce the Light
Instead of letting light directly hit your subject and cause glare, bounce it off another surface. This could be anything from a professional bounce card or reflector board to something as simple as bright white walls or clothing.
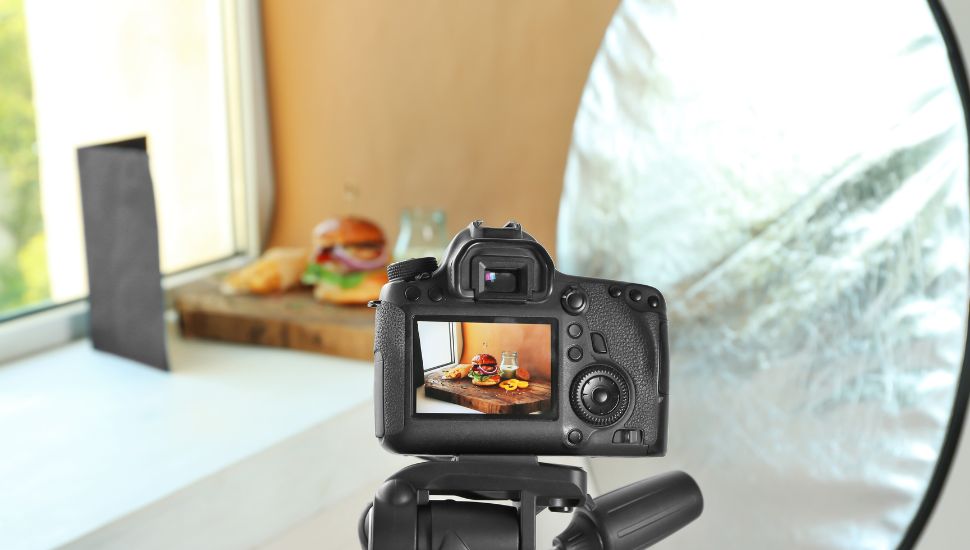
Bouncing spreads the light more than the original source would, diffusing it as it reaches your subjects. It reduces glare significantly and, as a bonus, gives your photos a softer, warmer look that’s just more pleasant to the eye.
Filter the Light
Using filters in photography isn’t about masking flaws but enhancing what you’ve already captured, especially when dealing with glare.
For those sunny days when glare threatens to overshadow your portraits or close-ups, a diffuser or a large white sheet can be your best friend. It can softly filter out harsh rays and reduce glare.
Reflectors and fill flashes also come in handy, bouncing light back onto your subjects to brighten shadows.
Use a Lens Hood
The humble lens hood is a key tool in a photographer’s arsenal. This nifty little accessory acts like a sun hat for your lens, warding off those pesky light rays that cause flares and that washed-out look we all love to hate.
If you don’t have a lens hood, you can improvise. You can use your hand, a hat, or any available object to shade your lens further.
Use a Polarising Filter
Just like the lens hood is a hat for your lens, a polarising filter is like sunglasses for your lens, dramatically reducing glare with a twist (literally).
By attaching a polarising filter and rotating its outer ring, you selectively block certain types of light from entering your lens.
It’s especially handy for taming reflections off water, foliage, or glossy windows, making colours pop and reducing glare.
And for those breathtaking sunset shots?
A half-polarised filter can be your best friend, letting you dial down the glare without sacrificing the sky’s dramatic colours. It’s a simple twist away from transforming how your photos look and feel.
In-the-Field Fixes
Even with all the preparation, glare can still ruin a shot. Next, we’re talking about quick fixes while you’re out taking pictures.
Consider a Different Time of Day
Timing is everything, and that rings especially true when dodging glare in photography. Those golden hours of early morning or the soft glow of sunset aren’t just beautiful; they’re prime hours without harsh glare.
If you find yourself battling harsh shadows and blinding reflections during the midday sun, it might be a sign to take a break and return when the light is more forgiving.

Cloudy days can also be a photographer’s best friend for glare-free photos, offering naturally diffused light. So, keep an eye on the sky and time your shoots for when the lighting conditions are just right.
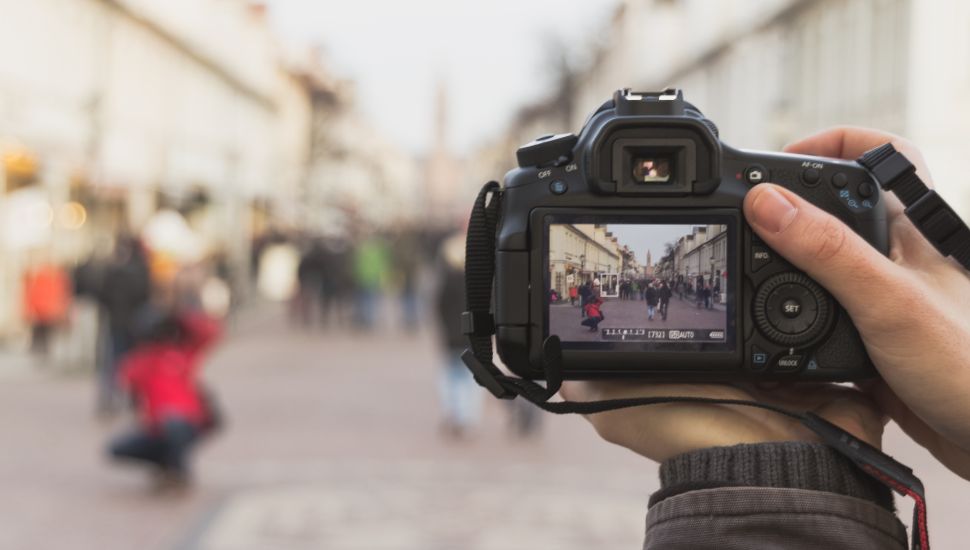
Change Positions
Sometimes, the simplest solution to glare is just a step to the side. When direct light challenges your shot, shifting your stance can shield your lens from being directly in the line of the light.
This trick works wonders for reflected glare, too, thanks to the physics of light reflection. By altering your angle, that pesky reflection that once dominated your photo can vanish, leaving you with a clearer, more balanced image.
Feel free to experiment with moving left, right, or even up and down. As you navigate your space, watch how the light interacts with your scene.
Lessen Your Exposure
Too much light flooding through the lens is often the culprit behind those glaring issues. You can reduce the light captured in your shot by dialling down the exposure, opting for a narrower aperture, and speeding up your shutter.
This tweak might not get rid of glare entirely, but it can significantly soften its presence.
For those moments when glare seems relentless, try a more advanced tactic: HDR photography.
Capture two shots of the same scene with different exposures – one focused on the highlights and the other on the overall scene, ensuring the images align perfectly.
Later, in the comfort of post-processing, you can merge these images, crafting a composite that balances light and shadow beautifully.
Post-Processing Magic
Even when you’ve tried every trick in the book to sidestep glare, a few stragglers still find a way into your final shot. Thankfully, you still have post-processing software, like healing and cloning features.
Embracing post-processing as part of your workflow is not a shortcut; it’s an essential step in achieving that perfect shot. Tweaking contrast, saturation, and brightness can significantly diminish any lingering glare.
Creative Opportunities with Glare
Glare doesn’t always have to be the bane of a photographer’s existence. In fact, sometimes, it can add an exciting twist to your images, bringing in a bit of character and depth that wasn’t there before.
It’s all about perspective—instead of dodging glare at every turn, why not see if it can enhance your photo?
Many photographers actively seek out glare to add a unique touch to their work, using it to create drama, enhance textures, or even add a layer of mystery. The trick is to use glare intentionally.
When you control where and how it appears in your composition, glare can become a valuable element rather than a nuisance. So, go ahead and experiment with it!
Final Thoughts
Throughout this guide, we’ve navigated the challenges and creative opportunities that glare presents in photography, from helpful prevention tips to in-the-field fixes.
Like any great adventure, photography is all about playing with light, and now you’ve got a few more tricks up your sleeve to do just that.
If you’re itching to dive deeper and really amp up your photo game, check out Orah. It’s not just a website; it’s your new photography playground – packed with tutorials, tips, and a community that’s as photo-obsessed as you are.
Sources: