

Unlock the full potential of your smartphone’s camera with these Mobile Photography Tips for Students. Elevate your skills with composition insights, lighting mastery, diverse photo styles, and advanced editing techniques.
Whether capturing portraits, landscapes, or macro shots, this guide, enriched by UKWritings essay writing company insights, empowers you to create captivating images.
Dive into the world of mobile photography, embrace creativity, and embark on a journey of continuous improvement.
Mobile Photography Tips for Students: Creating Stunning Images with Your Smartphone
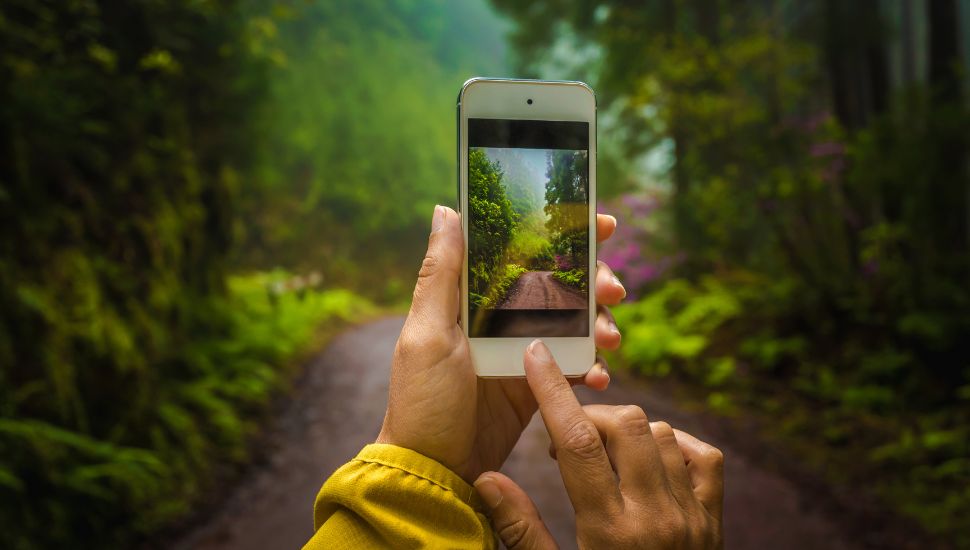
Your smartphone camera is an incredibly versatile tool for capturing stunning images. With some simple tips and techniques, you can dramatically improve your mobile photography skills and take photos that look professional, not like quick snapshots.

Mobile photography tips for students involve the practical advice and techniques to enhance the quality of photographs captured using smartphones; those seeking comprehensive guidance may explore resources provided by entities to gain expert insights and elevate their mobile photography skills within the academic and creative spheres.
Learn the Basics of Composition
The most important mobile photography tip is to pay attention to the basics of photo composition. Composition refers to the arrangement of visual elements in the photo frame.
Mastering key composition techniques helps separate snapshot takers from photographic artists.
Some fundamental composition tips for students are:
Use the Rule of Thirds – Mentally divide your camera frame into thirds vertically and horizontally.
Position the main subject at one of the intersection points to create a balanced, engaging image. The human eye naturally gravitates to these intersection points.
Frame it Up – Use foreground and background elements to frame your main subject creatively. Framing adds depth, context, and layers to a two-dimensional image.
Some framing ideas are tree branches, tunnels, archways, windows. Get creative with natural frames!
Lead the Eye – Use diagonal lines, curved lines, shapes, patterns, textures or other elements that visually lead the viewer’s eye towards your main subject. The goal is to intentionally guide the viewer through the image to the main focal point.
Fill the Frame – Move physically closer to your subject to fill more of the frame for more dramatic images. Get intimate with your subject! Cropping out excess background cleanly isolates your primary subject.
Negative Space – While filling the frame can be powerful, also experiment with embracing negative space around your subject.
Negative space is the empty area lacking primary subject matter. Used intentionally, negative space brings a minimalist focus to your main subject.
Master Mobile Lighting
Even with a smartphone, you have more control over lighting than you may think. Learn to properly use and modify different types of light through these tips:
Use Natural Light – Outdoor daylight, if softened and balanced properly, produces beautiful photographs filled with a richness unattainable with artificial light. Pay close attention to the direction, color temperature, and hardness of natural light.
Soft Light vs. Hard Light – Diffused, soft light is often the most flattering for subjects. Seek open shade under a tree rather than direct, harsh sunlight. With soft light, you avoid heavy shadows and overexposed hotspots.
Backlighting – Positioning the camera so the sun is behind your subject can produce striking, artistic silhouettes by intentionally underexposing the background. Be careful not to blow out bright backgrounds.
Reflected Light – Bounce sunlight or artificial light off reflective surfaces onto shaded areas of your subject. Use gold, silver & white fabrics. Reflectors fill shadows, producing a soft, diffused lighting quality.
Sunrises and Sunsets – The golden hour light around sunrise or sunset creates a warm, gentle glow for portraits, landscapes and urban scenes. The low angle sunlight casts nice shadow patterns as well.
The art of creating stunning images with your smartphone involves mastering techniques and applications to capture visually appealing photos; for those delving into the exploration of this subject academically, consulting expert resources like best research paper writing services can provide in-depth analyses and insights, contributing to the scholarly discourse on mobile photography.
Shoot a Variety of Photo Styles
Challenge yourself to shoot a diverse range of photo types. Here are some styles perfectly suited for smartphone cameras:
Portraits
Shoot portraits outdoors near a large window or underneath building overhangs for flattering natural lighting. Have your subject face towards the direction of the light source.

Focus precisely on your subject’s eyes. Eyes convey great emotion and should be the sharpest part of portraits.
Capture relaxed, candid expressions in addition to posed shots. Some of the best portraits are unplanned moments of natural joy and laughter.
Landscapes
Use leading lines such as roads, fences, rivers, shorelines, train tracks or walls to pull viewers into an image and towards focal points within landscape scenes.
Capture epic landscape photos during the golden hour light around sunrise or sunset when the lighting is soft, diffused and warm.
Still Life
Arrange small inanimate objects carefully considering colors, shapes, sizes, textures. Experiment with object positioning and framing.
Frame objects against a clean, minimal background. Busy backgrounds distract. Plain solid blacks, whites or grays enhance focus on your subject matter items.
Explore shooting from very low or extremely high angles for dramatic effects. Discover artistic vantage points.
Food Photography
Focus on making dishes look irresistibly delicious with bright, vibrant colors and rich textures.
Play with light directionality to accent textures. Side lighting adds depth revealing food shape and texture. Backlight brings out jewel tones and luminosity.
Frame creatively with table settings, backgrounds, angles and perspective. Flatten perspective or shoot straight down can also simplify food images nicely.
Night & Low Light Photography
Use manual mode at night allowing you to extend shutter speed and adjust ISO sensitivity. This renders proper exposure for dim scenes the camera otherwise struggles with.
Capture light trails from passing vehicles by using very slow shutter speeds (1+ second exposures) on a tripod.
Macro & Abstract Photography
Explore focusing extremely close to subjects. Smartphones can capture stunning macro detail most people overlook day to day.
Shoot extreme close-ups of flowers, insects, water droplets, ice crystals, machinery. Small mundane objects become fascinating abstract art!
Master Mobile Photo Editing
Take your images to the next level with photo editing apps. Many powerful options like Snapseed, Adobe Lightroom, and VSCO are either free or quite inexpensive.

- Crop images to hone and adjust composition
- Creatively darken, lighten, increase or decrease color saturation
- Carefully sharpen details or add vignette effects drawing viewers to image focal points
- Boost contrast and make whites whiter, blacks blacker
- Fix imperfections like blemishes, dust spots
- Play with creative filters if they complement the image mood (sparingly)
Invest in Accessories for Next Level Shooting
Serious about mobile photography? Consider these accessory investments:
Lenses
Attach secondary macro, telephoto, wide angle & fish eye lenses onto your smartphone for enhanced optical capabilities unlocking photographic creativity.
Remote Shutters
Trigger the camera shutter remotely with Bluetooth for sharper long exposures, self portraits, and motion time lapses.
Mini Tripods & Stabilizers
Mount smartphones on a pocket tripod or stabilizer grip for improved control when shooting long exposures, low light scenes, motion time lapses and panoramas.
External Lighting
Use a compact LED panel, ring light or tiny clip-on flash to artfully illuminate subjects when natural light alone won’t suffice. Dramatically boosts portrait, food, product and macro photography.
Photo Apps
Apps provide advanced manual controls, specialized features like clone stamp touch up, brush tools, layer blending, masks, batch editing automation and more that smartphone native cameras lack.
Practice Mobile Photography Consistently
Like any art or skill, exceptional mobile photography requires regular, deliberate practice. Push yourself to take at least 10-20 photos every single day.
Shoot something new often, rather than the same static scenes and subjects. With disciplined daily photo missions, your images will evolve rapidly.
Here’s a great learning technique:
When reviewing your images, analyze both your best shots and major flops. Ask “What photographic techniques worked effectively here? What didn’t work and how can I improve next attempt?”
This mindful self-review accelerates artistic growth helping you seize your full creative vision faster through purposeful, informed practice.
So grab your smartphone and start shooting! With some effort mastering compositional techniques, lighting skills, editing tricks and a passion for practice, you’ll be creating eye-catching mobile photos to share proudly in no time.