
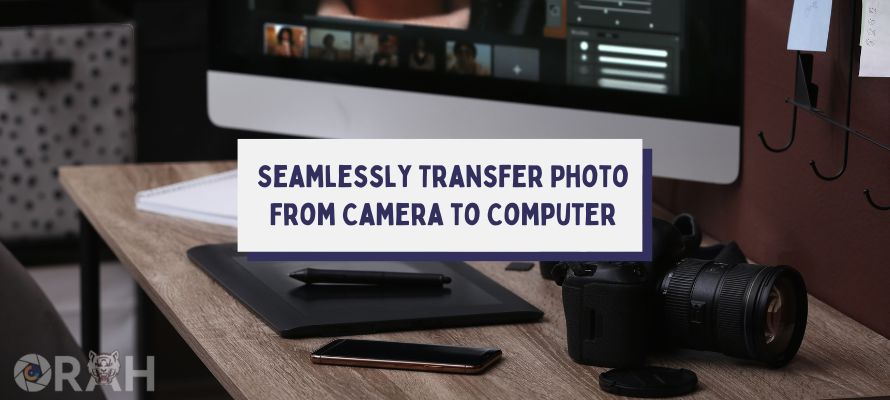
In today’s fast-paced digital world, streamlining your workflow is essential for photographers who want to maximize their productivity and efficiency.
By streamlining your workflow, you can save time and effort, allowing you to focus more on your creative process and less on the technical aspects of transferring and managing your photos.
One of the key components of streamlining your workflow is linking your camera and computer. This allows for seamless integration between the two devices, making it easier to transfer photos from your camera to your computer.
By linking your camera and computer, you can eliminate the need for manual file transfers, saving you valuable time and reducing the risk of losing or misplacing your photos.
Choosing the Right Camera and Computer for Seamless Integration
When it comes to linking your camera and computer, it’s important to choose the right equipment that is compatible with each other. There are several factors to consider when choosing a camera and computer for linking.
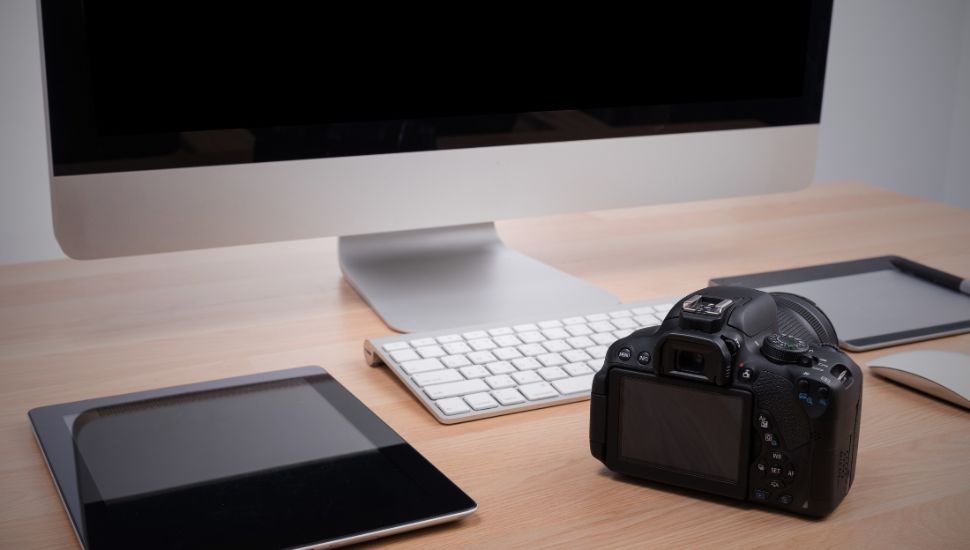
Firstly, you need to ensure that both your camera and computer have the necessary connectivity options. Most modern cameras come with built-in Wi-Fi capabilities, which allows for wireless transfer of photos.
However, if your camera doesn’t have Wi-Fi, you can still link it to your computer using USB cables or memory cards.
Secondly, you need to consider the compatibility between your camera and computer. Different camera brands may have different software requirements or file formats, so it’s important to check if your camera is compatible with the operating system of your computer.
This will ensure that you can easily transfer and access your photos without any compatibility issues.
Setting Up Your Camera and Computer for Easy Photo Transfers
Once you have chosen the right camera and computer for linking, it’s important to properly set them up for easy photo transfers.
This involves following the manufacturer’s instructions to ensure a smooth integration between the two devices.
For cameras with built-in Wi-Fi, you will need to enable the Wi-Fi feature and connect it to your computer’s Wi-Fi network. This may involve entering a password or following a step-by-step setup process.
Once connected, you can use the camera’s software or a dedicated app on your computer to transfer photos wirelessly.
If you are using USB cables to link your camera and computer, you will need to connect the camera to the computer using the appropriate cable. Most cameras come with a USB cable that can be plugged into a USB port on your computer.
Once connected, your computer should recognize the camera as a removable storage device, allowing you to transfer photos by simply dragging and dropping them into a folder on your computer.
For cameras that use memory cards, you will need to remove the memory card from the camera and insert it into a card reader on your computer.
The card reader should be recognized by your computer as a removable storage device, allowing you to transfer photos by copying and pasting them into a folder on your computer.
Using Wi-Fi to Transfer Photos from Your Camera to Your Computer
Using Wi-Fi to transfer photos from your camera to your computer is a convenient and wireless option.
Here are the steps to follow when using Wi-Fi:
- Enable Wi-Fi on your camera: Check your camera’s settings menu for the Wi-Fi option and enable it.
- Connect your camera to your computer’s Wi-Fi network: On your camera, select the Wi-Fi network that corresponds to your computer’s network. You may need to enter a password or follow a setup process.
- Install the necessary software or app: Some cameras require you to install specific software or apps on your computer to facilitate the transfer process. Follow the manufacturer’s instructions to download and install the required software or app.
- Transfer photos wirelessly: Once connected, you can use the camera’s software or app on your computer to browse and select the photos you want to transfer. Follow the on-screen instructions to complete the transfer process.
Using Wi-Fi for photo transfers offers several advantages. It eliminates the need for cables or memory cards, making it a convenient option for photographers on the go.
It also allows for wireless transfers, which can be especially useful when working in a studio or on location where cables may be cumbersome.
However, Wi-Fi transfers can be slower compared to other methods, especially when transferring large files or multiple photos at once.
Using USB Cables to Transfer Photos from Your Camera to Your Computer

Using USB cables is a direct and fast method for transferring photos from your camera to your computer. Here are the steps to follow when using USB cables:
- Connect your camera to your computer: Use the USB cable that came with your camera to connect it to a USB port on your computer. Make sure both devices are turned on.
- Select the appropriate transfer mode on your camera: Some cameras have different transfer modes, such as “Mass Storage” or “PTP” (Picture Transfer Protocol). Select the appropriate mode for transferring photos.
- Access the camera’s storage on your computer: Once connected, your computer should recognize the camera as a removable storage device. Open the file explorer or finder on your computer and navigate to the camera’s storage.
- Transfer photos by dragging and dropping: Select the photos you want to transfer and drag them into a folder on your computer. Wait for the transfer to complete before disconnecting the camera.
Using USB cables for photo transfers offers several advantages. It provides a direct and fast connection between your camera and computer, allowing for quick and efficient transfers. USB cables are widely available and compatible with most cameras and computers.
However, they can be cumbersome to carry around, especially if you are working in a studio or on location where cables may get in the way.
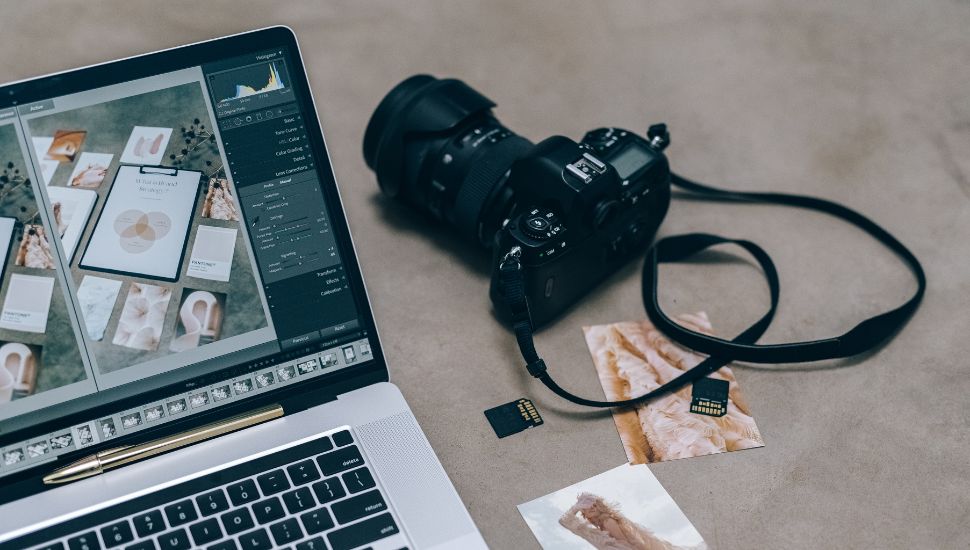
Using Memory Cards to Transfer Photos from Your Camera to Your Computer
Using memory cards is another option for transferring photos from your camera to your computer.
Here are the steps to follow when using memory cards:
- Remove the memory card from your camera: Turn off your camera and remove the memory card from its slot.
- Insert the memory card into a card reader: Insert the memory card into a card reader that is compatible with your computer’s USB port or SD card slot.
- Access the memory card on your computer: Once inserted, your computer should recognize the memory card as a removable storage device. Open the file explorer or finder on your computer and navigate to the memory card’s storage.
- Transfer photos by copying and pasting: Select the photos you want to transfer and copy them into a folder on your computer. Wait for the transfer to complete before removing the memory card from the card reader.
Using memory cards for photo transfers offers several advantages. It allows for easy and portable transfers, especially if you have multiple memory cards and want to transfer photos from different cameras or devices.
Memory cards are widely available and compatible with most cameras and computers. However, they can be easily lost or damaged, and the transfer speed may vary depending on the card reader and computer.
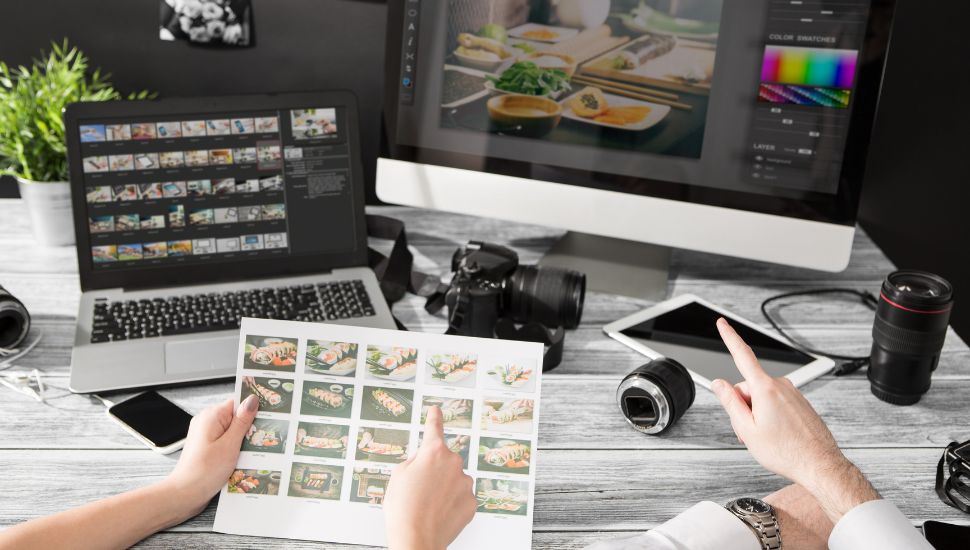
Tips for Efficiently Managing Your Photo Library
Efficiently managing your photo library is essential for maintaining a streamlined workflow.
Here are some tips to help you manage your photo library effectively:
- Organize your photos: Create a logical folder structure on your computer to organize your photos. Use descriptive names and subfolders to categorize your photos by date, event, or subject.
- Use metadata: Take advantage of metadata to add keywords, tags, and captions to your photos. This will make it easier to search and find specific photos in your library.
- Backup your photos: Regularly backup your photo library to an external hard drive or cloud storage service. This will protect your photos from loss or damage in case of computer failure or accidents.
- Delete unwanted photos: Periodically review and delete unwanted or duplicate photos from your library. This will free up storage space and make it easier to navigate and search for specific photos.
- Use photo management software: Consider using dedicated photo management software, such as Adobe Lightroom or Apple Photos, to help you organize, edit, and share your photos more efficiently.
By following these tips, you can ensure that your photo library is well-organized and easily accessible, allowing for a smoother workflow and faster photo retrieval when needed.
Troubleshooting Common Issues with Camera and Computer Linking
While linking your camera and computer can greatly enhance your workflow, there may be some common issues that you may encounter.
Here are some common issues and their solutions:
1: Connection issues: If you are experiencing connection issues between your camera and computer, try the following solutions:
- Ensure that both your camera and computer are turned on and properly connected.
- Check the USB cable or memory card for any damage or loose connections.
- Restart both your camera and computer to reset the connection.
2: Compatibility issues: If you are experiencing compatibility issues between your camera and computer, try the following solutions:
- Check if your camera’s software or firmware is up to date. Visit the manufacturer’s website for any available updates.
- Ensure that your computer’s operating system is compatible with your camera’s software or file format.
- Try using a different transfer method, such as Wi-Fi or memory cards, if available.
3: Slow transfer speed: If you are experiencing slow transfer speed when transferring photos, try the following solutions:
- Check if there are any background processes or applications running on your computer that may be affecting the transfer speed. Close unnecessary applications to free up system resources.
- Ensure that you are using a high-speed USB cable or memory card that is compatible with your camera and computer.
- Consider transferring photos in smaller batches or reducing the file size of your photos to improve transfer speed.
If you are still experiencing issues after trying these solutions, it may be helpful to consult the manufacturer’s support documentation or contact their customer support for further assistance.
Final Thoughts: Enjoying a Smoother Workflow with Your Linked Camera and Computer
Linking your camera and computer is a crucial step in streamlining your workflow as a photographer.
By choosing the right equipment, setting them up properly, and understanding the different transfer methods available, you can enjoy a smoother workflow and maximize your productivity.
Whether you choose to use Wi-Fi, USB cables, or memory cards for transferring photos, each method has its own advantages and disadvantages.
It’s important to consider your specific needs and preferences when deciding which method to use.
Additionally, efficiently managing your photo library is essential for maintaining a streamlined workflow.
By organizing your photos, using metadata, backing up your photos, and regularly deleting unwanted photos, you can ensure that your photo library is well-organized and easily accessible.
Lastly, it’s important to follow the manufacturer’s instructions when linking your camera and computer.
This will ensure that you have a seamless integration between the two devices and minimize the risk of compatibility issues or technical difficulties.
By following these guidelines and tips, you can enjoy a smoother workflow with your linked camera and computer, allowing you to focus more on your creative process and less on the technical aspects of transferring and managing your photos.